Tuesday, August 9, 2011

Just a note

Okay, I am hoping to get on here with another project soon, but I wanted to let everyone know first... Walmart appears to be having a huge sale on their cricut cartridges. I don't know if they are getting rid of that type of merchandise, or if new ones are coming in, but the lite cartridges where I live are $20.00 and the full ones are $30.00 I believe. So check it out. Even if you don't like the lite cartridges very much there are some really cute ones. I purchased two B is for Boy and Live Simply... so basically I got two for the price of one because they are usually about $40.00.


Both of these carts look really cute, and I can so see myself making a bunch of new projects with them. I especially love the boy factor all over the B is for Boy... its hard to find cute boy stuff that I can use for my son, but this one is cute without being too babyish for him. Anyway, check your local Walmart out... doesn't look like its going on at the website, so maybe its just my Walmart, but we all know we are going to be in Walmart at some point this week, so drop by their scrapbook aisle!!! Talk to you all soon!

Wednesday, July 27, 2011

A Dark Birthday!

My niece, who is really into black right now, is having a birthday in August, so I decided to make her a nice card to send to her. The only problem was finding colors that she would be okay with. She loves the color black, but making a plain black card is so... well... blah!!! So I started one with other colors, but it turned out to be just a nice card to send for any occasion, so I went back to the drawing board.

While going through my many favorite blogs I came across a challenge at CAS-ual Fridays. They wanted something with rub-ons or stickers, so I started wracking my brains to see if I could incorporate the challenge into my niece's birthday card.

A while back, my husband, being the wonderful enabler that he is... found a bunch of scrapping supplies on sale on e-bay, and actually won the auction. The bundle just happen to come with some really cute rub on letters made by Making Memories. I have a few different fonts to pick from, so it worked out great. The only problem was they all seemed to be black, and I was working with black papers... and then I found the cute blue text that looks like it was stamped on. So taking my new rub-on letters, some carefully chosen papers, my new Cateye Chalk ink and I came up with a really cute card.

I went a little crazy with putting the letters on because I knew I could never keep them straight, so I just angled each letter the opposite way of the one before it, and as I got closer to the end of the area I stretched them out a little more, to kind of give it the impression that I was getting crazy with each letter I put down. If you know my family at all, it fits in perfectly!!!

I was luck with my papers, I had a card stock in plain black that I used for the base of the card, then I have this wonderful Boho Chic pack from The Paper Studio, and then for the top part I needed something that I could rub my letters on that would show up, so I cute a page in half from my DCWV The Street Lace Stack... which I love, but hardly ever use because its so unique and hard to find for the right person. Thankfully, even though there was a lot of pink in the pack... which my niece hates, I was able to come up with a page that had just a touch of black but some cute blue in it too. I took my new cats eye chalk ink and inked up the edges of my papers, and the pretty bird that I found in another pack that is dwindling down because I use it so much. I put a ribbon to break up the white from the color, and there was the front of my card.


I was a little worried though, because the inside was going to be very dark, so I decided to take the other half of the DCWV paper and put it on the inside, with another greeting, and another cute little flower cut out, inking the edges with my new chalk ink again. Finally I used my silver pen to write a personal message inside for my niece.


So there is my latest birthday card. I think it turned out really good considering all the black I used, but I know my niece will love that I didn't send her a cutsie little pink card that she would think was horrible. Hope you all like it, and check out CAS-ual Fridays for some great challenges.

Friday, July 8, 2011

A Summer Birthday Card

So, this month is a lot easier on birthday cards than June was... I think I got overloaded when it came to the month of June, but here I am back posting a really cute card for my nephew in NY. His birthday is at the end of July, and for his second birthday I was able to be there for the big party. I remember it was really hot in NY, and the block where he lives closed down for a block party. It was loads of fun, and I carry those wonderful memories with me all over the place.

At any rate, whenever I think of his birthday I think of that party and the hot summer sun, so I decided to do a summer themed card, and it just happened to coincide with Fabtabulous Cricut Challenge Me Monday . The theme this week at Fantabulous Cricut is Pool time. So I thought about my favorite times growing up and getting into the water, and the best memory I have is my first time at the beach. My parents took me to Myrtle Beach to pick my brother up from college, and we got to go to the beach for some added fun. I remember being a little afraid of the ocean, I was about 7 or 8 at the time, so it sounded really loud and scary, especially at night. However, my favorite thing to do was to gather up sea shells and starfish that was on the beach. So I decided to make a card with that theme on it.

I took the shape idea of the potted plant that I saw in my recent Scrapbook etc. Mag and tweaked it so it would look like a little sand bucket. Then I added my little crab from Create a Critter Cart. The crab is holding the new stamped sentiment I recently bought on clearance from Hobby Lobby, its from The Paper Studio, and it seemed to fit perfectly for this card. Now every bucket needs a handle, but I didn't have anything really sturdy to use, so I improvised and used some ribbon from another clearence rack I found while I was in PA, and it acts as the handle.

The card does not open, but rather a seperate sheet is tucked in at the top, and you pull it out to see the message inside. To decorate the top I put sea shells and star fish from the create a critter Cart too. Then I took a marker, because I didn't have the right ink to really do it up right, and outlined the edges, put a little stickles on the sea shells, and there you have it. When I showed it to my hubby he said it needed a shovel, but I didn't have any cartridges with a shovel, so instead of giving up, I went ahead and designed a shovel out of scrap card stock I had laying around, then outlined it with a couple of markers and glue dotted it on the back. This way he can see the whole shovel when he pulls the message part out.

So now I have a really cute card designed just for my nephew in mind, and the summer fun we had when he turned two. We live very far apart now, so I don't get to see them at all anymore, but at least I can remember his birthday in a special way. Oh, and another cute thought... without even thinking I put a crab on the card, and his name happens to be Sebastian, as in the crab from The Little Mermaid... how appropriate is that!!! See you all soon.

Quick Post!

Okay, I have not fallen off the face of the planet... trust me I'm still here. I started a new shift at work and I'm a bit overwhelmed by how much this has screwed up my whole week. At any rate, I have not stopped crafting, and I have a really cute card that I am hoping to post tomorrow... after I pry my eyes open from a long nights sleep.

At any rate, I did want to let you all know that I finally broke down and bought my first set of stamps. I was working on a birthday card for my nephew in NY, and while I didn't really need any stamps for it, I found the perfect set of stamps for birthdays on clearance. They are from The Paper Studio, and I found them at Hobby Lobby! Trust me this won't be the last of my stamp collection, but it is a good start, and I think it really made the card I made stand out!!! So stop on by and take a look tomorrow.

Also, I have been thinking about doing a blog hop in the future. What do you think??? Would you want to be involved. Its  not something set in stone right now, but its definitely something I am thinking about... my husband actually suggested it. So leave a comment and let me know what you think. See you all tomorrow!

Thursday, June 23, 2011

GiveAway at My Scrapbook Addiction!

Hey everyone! One of the blogs I am following is having a giveaway for the new Echo Park Country Drive release. Check into it, I googled the pictures of the papers and they are very sweet. Just click the link and it will take you right to the right page!!!

My Scrapbook Addiction Echo Park Giveaway

Sunday, June 19, 2011

The Cutest Paper Purse Gift Bag!!

Okay, so it has been awhile since I've actually posted a project on here. For starters, my Chemistry class is kicking my butt... I forgot how demanding science classes can be, and my History of Psychology class is well... history, which is cool, but a lot of information to take in, and of course this one is only an 8 week class, so I'm totally overwhelmed by the amount of work that I need to do each week!! I should be used to it by now.

Another thing is I started a project in my son's bathroom. We haven't painted that room since we moved in, a little over a year ago, and it is past time for a refreshing new color and theme in there... so this weekend I picked up my paint brush and started painting away. Of course, now my back and legs are demanding some time to relax on the couch in front of the TV, but I saw this project and I thought it was too cute to not do this weekend. So today after work was over I pulled out my supplies and followed along with the video that I was directed to.

Now first I have to give credit to a couple of people that I followed to come up with this project. The first person is Mary over at Cardz TV, who was showcasing a card she received from another blogger Karey from Creative Craft Corner, which is where I saw a post about the purse originally. She linked the purse to another blog which is Stamp & Scrap with Frenchie, who by the way has the cutest accent you will ever hear. I can't figure out exactly where it is from, but I love it!!! So now that you know where I came up with the idea let me show you some pics and tell you briefly how to put it together. If you go to Frenchie's blog with the above link it takes you right to her video where she explains it in full detail, and it is really easy to follow.

I started out with a full 12x12 piece of paper from my DCWV All Dressed Up paper pack (which I have to say has some amazing papers). I then used some scraps of paper for the top part (brown section) two pieces of 6.5x2 scored in the middle. I agree with Frenchie when she says you need good glue, but I used some medium brads to hold my ribbon in place, so that should help it stay in place. The brads were from a clearance stack I picked up awhile ago. The ribbon I bought from Crafty Steals. If you haven't checked out their website you should. They have some awesome deals. Anyway, the ribbon is from American Crafts Everyday Ribbon Box which came with several different selections of ribbons, and the quality is amazing on these ribbons... of course this means I now have to find a better way to store my ribbon as I'm starting to actually get quite a collection!!!

The hard part for me was the closure. Frenchie uses velcro, but I didn't have anything like that around my house. I've promised my DH that I would hold off on buying anymore supplies until I have a better ER fund in my bank, so I had to figure out what to do, so using my puncher that I use for my brads I punched two holes on each side in the middle, then sewed twine and tied it off, then on the second side I sewed a spare button I had laying around, and then looped the twine around the button to hold it closed. 


 Finally, I added some bling with my little flower. The paper already has sparkle to it, but I wanted to add a little something extra, so I pulled out my few flowers I have stashed away, and placed it on using a brad. Of course you should do this before you start gluing the top part on because it makes it harder to reach in there. 

 And now I have a cute little gift bag that can hold quite a few little items!!! So using this for a friends graduation present!!!

 Hope you are all having a lovely Father's Day!!! Enjoy!!!

Thursday, June 16, 2011

Quick Question!

Okay, this is a quick post. I have some new cards I need to put up, but this week has been crazy. I've had several days of training at work (ugh), and I've been trying to clean my son's room... now a person would think that when there is only one child in the house that there should not be too much of a mess... that person needs to come to my house and see how much of a mess one child can make. It our annual, go through the old toys because our birthday is almost here and we have to make room for the new toys, however we find the old toys we forgot about and suddenly want to play with them (double ugh). At any rate, I will be posting soon, probably this weekend, but I wanted to put a question up for you all!

I am looking into buying my very first stamp set, but there are so many out there, and its so hard to pick. What is your go to stamp kit if you stamp at all, and where did you get it from? I know there are a lot of sites out there that sell stamps, and I even follow a couple of blogs that sell stamps, and I'm looking into all of them, but as I said, so many to choose from and I start to hyperventilate, and just walk away before I even purchase anything. I know that once I get one set I'll be able to get another one much easier, but its the first set that is holding me up. So come on with all of your suggestions, tell me your favorites, how you tend to use them, and what you suggest I should buy! Thanks in advance!

Saturday, June 11, 2011

Head over to Flair and Frills!!!!

Okay all my wonderful followers!!! There is an awesome giveaway going on over at Flair and Frills , so if your not a follower of this page go check it out now, and if you decide to enter into it, please leave my name so I can get some extra entries for this wonderful giveaway. Go check it out for yourself... looks awesome!!!


Stop drooling already and head over there!!! Seriously!!

Another Challenge Card

So this month has been very busy for me in the card area. I have had three anniversaries, and three birthdays, not to mention Father's Day... so I have been busy!!! I don't know about ya'll, but sometimes when I'm making so many cards at once I get creative blocks, and I start to wonder if I've ran out of ideas. When that happens sometimes I go to other blogs I follow to generate ideas, and other times, like this one, I used a challenge to get an idea.

Over at CAS-usal Fridays they have a weekly challenge, and this week was a tic-tac-toe choice. You could do either row of blocks, but all three elements had to be on your card. So I choose to do Ribbon, Die Cuts or Punches, and Felt. I was a little worried about the felt, but by the time I realized that I had put a ribbon instead of twine it was too late to go back, so I dug around and finally came up with the perfect solution!

The die cut is the little birds with the saying Perfect Harmony, and then another cut out of a bird, and I fun flocked it to give it the felt effect. Then the ribbon was placed behind the die cut. All of the papers and die cuts were from the Crate Paper, Lillian Collection Kit that I purchased a few weeks ago. I love the papers, and the birds are awesome. The papers are double sided, so you can use them in a variety of ways. The ribbon was from my stash, which by the way is slowly getting a little bit bigger. I pick up most of my ribbon on clearance, because I feel a little guilty buying expensive ribbon for something I might not use.


This is how the card looks folded down. I did this in the twisted easel format again. This style is pretty easy to do, and I know that my niece, who follows my blog, will be able to tell her mom, which this is for, how to open it. Of course, she may be watching my blog now too, but she doesn't spend a lot of time on the computer, so I think it will be safe. Anyway, it is an anniversary card for my sister and her husband, and I thought the sentiment of Perfect Harmony fits them. To some they may appear complete opposites, but my sister brings out the best in her husband, and he does the same for her!!! It is nice to see a marriage actually working and not hearing about horror stories from either side! At any rate, I think they will like it.

So there you have it, another card for the month of June. I still have to finish up my son's b-day card, but that one is going to take a lot of though. He's turning 12 this year, but he has PDD-NOS, and so he's not like most kids his age, which just means that his card will be really special!

Well hope you all have a great day today! See ya around!

Thursday, June 9, 2011

Reusing my Glass Jars

Okay, so I don't know about any of you, but the prices of glass jars at the craft store are crazy, and even at Wal-mart and such. Sure some of them come in cute shapes, but still, I mean, here is a pic of  a small jar I picked up with flowers in it for about $6. The only reason I picked this up was because I really liked the flowers, but I vowed to never do it again!

So one day, after dinner I was cleaning up and getting ready to toss my spaghetti sauce jar in the recycling, when I realized that I loved the shape of the jar. It dawned on me that I had been throwing away glass jars for months now (years, but months since I started craving jars for my scrapbook room), and here was this perfect jar for storing stuff in. It was a little blah in the cute factor, as in, I really didn't like the lid, but the jar itself was perfect.

So I decided to start saving them and as I found things to put them in I place them in there. Then today while I was cleaning up in my craft room I found some leftover fabric I had used months ago. So I pulled out my hot glue gun, and with the help of my DH, I was able to make a cute top to cover up the lid that was, well a little less cute.

You can't really see it in the picture, but the fabric has monkeys on it, which I thought fit my whole Purple Giraffe thing going, I mean you can have more than one animal in a zoo, right! I took some ribbon that I bought on clearance recently, tied it in a knot, and glued it into place in three spots, and now its ready for storage in the cutest fashion.

So has anyone else done something like this to save on money for your storage. I love having my room all organized (which its not right now, in the middle of redoing things in my room, and its gonna be awhile before its done), but I hate paying the prices, so when I find ways to save like this I love it. If you have a story of normal objects being put to usefulness tell us, who knows, I might have to try it out myself!!!

A Special Father's Day Card

This year, I wanted to make a special Father's Day Card for my husband from my son and myself. I've watching the blogs for some ideas, and I finally found one that I really liked. Recently there was a challenge to make a Father's day card, over at Fantabulous Cricut , and I was looking over the entries that were made when I came across Cricut Crafting Grammy's Fold Card she made for her Son in law. I loved the idea, but didn't think that I had the right paperdolls to get across what my DH means to me and my son, so I fell back on a family thing... I put in dinosaurs! The card is unique in that it starts out looking like a little gift, something I changed up from the original idea I saw.

You can't really see it in this picture, but I also placed a piece of scrap paper of the same design on the top to make it look like its the top of a box. Then I grabbed some ribbon I recently bought on clearance in PA while I was there (of course this was the one color I thought I would never use, go figure). I used a pop dot to hold the ribbon in place.


You open it up, and I placed my sentiment for Father's Day there, and the back of the gift box portion is a great place to sign too. I used the Feeling Groovy Cart for the letters on this page.

Lift up the side that said Happy Father's Day and on the back is another section that we put the word RAWR in big letters. I made this on my computer, I found this awesome font called Dinosaur Jr, and it is great for dinosaur projects like this one.

Pull the next fold open and you see our very first dinosaur. I used the Create a critter cart, which is quickly becoming a favorite. I love the dinosaurs especially!!!

Pull the final fold open and you find our last dinosaur, again from create a critter cart, and the final sentiment is pasted in. Now, I'm not sure if you all know this, but Dinos do not have a very big vocabulary. Their basic word is RAWR, and it means a lot of different things, so for this card we had to make sure that he knew exactly what our dinosaurs were saying to him!

Well I hope you liked the card. I loved this project, and it was so unique. I can't wait to give it to my hubby. I'm entering this in the color challenge over on The Pink Stamper. Check it out, the colors are Orange, Turquoise, and Green (and any other colors can be added). What is funny, is that while I wanted to join in this challenge I wasn't sure if I would be able to cuz I have so much going on right now. However, when I asked my son to pic out a base color page for our project he ended up with the striped color page from my My Mind's Eye, Where The Heart Is Collection. I have to say I love this paper pack, so many cute colors, and I love the shades and extras they add to it. So I used a bunch of scraps for the dinos and for the boxes I used scraps from the My Mind's Eye collection, along with another flowered scrap that went with our colors for the center box.

Enjoy your day everyone!

Wednesday, June 8, 2011

A Father's Day Card

Before I start on my new card, I wanted to remind you all that Chick-n-Scrap is having a huge giveaway, so head on over there and get yourself entered in. There is a link on my sidebar for it too!

Now on to my first Father's Day card of the year. Since my father passed away several years ago I try to find someone special in my life that I think needs a nice reminder that they are a good father. This year, I stuck with my mother's day theme and I'm sending one to my brother (I sent a card to my sister for mother's day, so figured my bro might like a father's day one). I didn't want to make it too sentimental, because, well that just isn't my brother, so I made it simple and to the point.

I found this cute cut on my Handy Man cart, which by the way is a great cart for all the boys in your life, so many tools and such. I like to use it for our remodeling scrapbook that I have been keeping of our new house (I'll have to share some of those sometime with ya'll).

I used the twisted easel cut that I found on Mary's Cardz Tv awhile ago. I just love this design, and I hope my brother gets that he's supposed to stand it up!!!

Then I added a simple sentiment from my heart, and it was all set to go. The dimensions are the same that are mentioned on Mary's Cardz Tv, and she is really easy to follow along with. If you haven't visited her blog yet, you really should. Love some of her ideas... okay, I love most of her ideas!

I used pop dots on the sentiment to help keep the card standing where it needs to be, and also on the base of the wheelbarrow, just to give it a little dimension. I'm entering this in the Fantabulous Cricut:Challenge Me Monday challenge which is all about Father's day this week. Take a peak at what others have come up with... I know I'm stealing a few ideas from some of the posts I've seen there.

Well I guess that is all for now. Hope you all have a great Wednesday, and I'll be seeing you all soon.

Tuesday, June 7, 2011

Super Giveaway going on right now!

Hey fellow paper crafters!!! There is an awesome (and I mean, OMG awesome) giveaway going on over at Chick-n-Scrap ! Jessica is celebrating reaching her 300th follower, and she is offering some major blog candy. Here is a look at what is going to be given away!


Head on over to her blog for a chance to win, if you aren't a follower of her's yet, let her know that Mel from The Purple Giraffe sent ya over!!! This is a huge giveaway, and of course everyone wants to be in, and she has a bunch of ways for you to enter, so go on over and check it out!

Sunday, June 5, 2011

Bug Bites Chillin'

So as most of you know this weekend was the second weekend of BugBites Grillin' n Chillin' Bug Hop and I spent most of this weekend trying to come up with an awesome card to post for it. I had so much trouble deciding what to do that for awhile I didn't think I would have anything to enter. However, finally today, inspiration hit. I had to make a card for my SIL (yeap, another one), and her birthday lands on the first day of summer (same as my son's if you care to know... LOL). So I wanted to do something with a summer theme, so I pulled out my Paper Doll Dress-Up cart from Cricut. I love this cart,  cuz there are so many different things you can do. I also love how you can make such cute cards for kids using their own imagination to inspire you!!! Anyway, I pulled out the booklet and found this really cute hulu skirt and top and of course there was a palm tree to go with it, so I was almost good to go.


Of course I had to add my little critter, so a little lady bug joined my girl on the beach!!! I mean, I am cool with ladybugs joining me for some fun, some other bugs I could do without, so I figured my girl would not be too upset if I placed a ladybug on the beach with her!


The design of the card was inspired by Mary over at Cardz Tv ,which I have to say, I love her ideas, and she is just so sweet. I can imagine going to her house and having a nice cup of tea... kind of reminds me of my mom!!!  The type of card was called the Z-fold, and it was super simple to put together. Check out her site to find out how to do it. Anyway, here is a few more shots of my card!!! All papers were from my scrap box, and I used a bunch of my pens. I also used some of my handy markers to color in the water and the palm tree as it was not a layered type cut in the book. Hope you enjoy it, and if you haven't already, check out BugBites before midnight tomorrow night to get your selection put in. Have a great evening!


Friday, June 3, 2011

A Simply Cute B-day Card

So I started this afternoon out in one direction (trying my hand at an easel card) and ended up with something completely different (a card with no cricut image... for shame!)!!!

For a little while today I had a creative block, but then I got out of it when I pulled out my brand new pack of Crate Paper ~ Lillian Collection Kit. This kit is full of whimsical birds and swirls and all kinds of super cute papers to work with. So by taking a basic blue background and adding some wonderful colors to it, I came up with a super cute card to send to my best friend for her birthday.

The base of the card is from my stash that I have, and then I layered it with some paper from the Lillian Collection Kit, for the flowery background. I added a curved sentiment, with the sticker letters that came with the kit, and a cute flower that I pushed the petals up so it would look a little more realistic. On the top I put a border that came with the kit, and weaved some ribbon that I had laying around through it. Then to emphasize the bird theme with the kit I added a cute little bird from the pop outs in the kit and placed it on a pop dot to give it a little more dimension.

As you can see the paper comes with some glitter in it, so no need for any glitter glue today.

For the curved sentiment I simply used a stylus I had laying around my desk and drew a curve on the paper free hand, then placed the letters on the curved portion.

I made the card using the measurements of a regular business size envelope, cuz I hate not having an envelope to go with it. True I could make my own, but sometimes I hate using the paper up for that.

I'm entering this card into the CAS-ual Friday's Challenge this week, where we were given a sketch as inspiration that had a curve and the wiggle border look on it. I really liked the sketch, how simple it was, and thought this would work perfectly for this card. I hope you like it!!

Check back later this weekend, as I'll be headed over to the Bug Hop on BugBites! Looking forward to all the great new ideas. See ya'll soon!

Thursday, June 2, 2011

A New Award!

Sherrie, from Sherri Scraps with passion, passed on this cute award. First of all, I have to say the little stamp is too cute, and then to have someone say that my blog is a bit stylish... well that just blows me away. I have been enjoying the whole blog experience, and I love learning new things about paper crafting, and every day I find new things to do, and to have a person look at my blog and think its pretty cool... well that just made my day.

There are a few rules that go with the "A Thing of Beauty Award", so I guess I better get on with that part.

Here are the rules for the A Thing of Beauty Award:

I must share 5 things about myself ( 1 of the listed items must be something about crafting) and then pass the award to 5 other blogs.

1.) I am designing a new craft room in my head, and saving up money to put it into effect (can't wait for that day!)
2.) When I'm not working, I am usually hitting the books to finish my bachelors (hopefully by October 2012)
3.) I never thought I could make cards, they always looked so complicated, but I'm so addicted now!
4) I love to shop
5.) When I'm not paper crafting, working, blogging, taking care of my boys, or doing school work, I love to read, books, magazines, text books (I know I'm a total dork now), I just love to pick up a book and read it. 
I would like to pass this award to the following people:)

1)Melissa from Sunshine Honeybee
2)Jessica at Cricut After Dark
3)Peggy Sue from ICrea8Cards
4)Jessica at Chick-n-Scrap
5) Jazzy's Cards

Anyway, the blogs above have some really cute ideas, and I love checking them out! I hope you'll check them out too, and maybe you'll find a new favorite blog to follow.


This weekend is Barb's second Bug Hop the Chillin' team is going to have some awesome projects to share with you, and I can't wait to follow the hop trail to the end. So looking forward to being able to join in this weekend (last weekend was a bit hectic for me, getting back from PA, and dealing with all that fun stuff). Hope you'll join along. Check out Barb's Bugbites Page for more information on the Bug Hop for this weekend!

See you all soon.

Tuesday, May 31, 2011

Bug Hop Ends

I don't know about all of you, but I had fun seeing all those projects coming out! I had so much fun just seeing all the creativity. Thank you so much for all that followed the hop and joined in on the fun.

Now to the winner of the Blog Candy I was giving away this weekend. Using Random.org's sequence generator I came up with #29

sweetlilscrapper said... love the shiny butterfly!! :)

Congrats Sweetlilscrapper, you have won the blog hop candy. I will be contacting you shortly to get your mailing address and such.

Thank you all for joining, and for those of you who became followers, thank you so much. I think I'll have another blog candy offer coming up soon, maybe when I reach 50 followers, right now I'm at 21, so not too far to go!!!

Hope to see you all next weekend during the Chillin' portion of the Bug hop. I'll be joining in for sure!

Until then, hope you all enjoy the rest of your week!

Saturday, May 28, 2011

BugBites Blog Hop!!

Welcome to my first every Blog Hop! I am so excited to be able to participate in this event that Barb over at BugBites has been so wonderful in hosting. I am super excited to be involved in this blog hop, or I should say Bug Hop as more than just someone who hops along, but someone who is actually involved!! I think its a great way to see some wonderful projects and get some great ideas, and maybe even find some blogs that you did not know are out there.

If you came from Sherri's Blog then you are on the right track!!! If you just happened to join us, then you can start from the beginning at Barb's blog... BugBites!

So here is my project that I did. I started out doing one thing, but then I had some complications, but I think it came together pretty good. I'm eager to get started on some more bug projects, and maybe next weekend during the other half of Grillin' n Chillin' I'll be able to post another buggie project I have been working on.

So the whole thing about Grillin' n Chillin' is that its that time of year where we enjoy the warm air and the sunshine, and gather outside to have some fun with our family and friends. Of course, when that happens, often the bugs come to join us, some fun, and others not so much. So I decided to make a card for just an everyday note to any friend or person that you might want to stay in touch with.

I used my new favorite type of embellishment, Fun Flock, for the caterpillar and the butterflies body. Then I added some i-Rock to add a little sparkle to the caterpillar and the butterflies wings, and also used some for the eyes on the butterfly and the antennas for the butterfly too. For the caterpillar's eyes, I used two small brads that I have in my stash.

The card was from some card stock I had laying around, and the rest of the paper was from my scrap pile too. I used the Create-a-Critter cartridge and also the Doodlebug cartridge for the picnic basket. The blanket paper was something I found in a grab bag from Hobby Lobby, and I loved it but did not know where I would ever use it, but I found a place... now I'm eager to see where else I can use it!!!!

Here are some close up pics of the caterpillar and the butterfly!

 
Now part of this Bug hop also included a search for some tiny creatures that you might find at a picnic or near your grilling center of your home... and congrats!!! You found the new creature!!!

Congrats on finding our little ant friend!!!

Now please go back to BugBites and play along in the challenge with us!
If you got lost along the way here is the Bug Stop list:


The best part about this Bug Hop is that I am having my first ever Blog Candy Giveaway!!!!

So if you would like to be elgible to recieve this wonderful package of   
Crate Paper Lillian Collection

This one is for the girl's with flowers and sweet birds. The Lillian kit by Crate Paper includes 12 sheets of double sided 12" textured papers. Each original design offers a unique and timeless pattern with a coordinationg design on the back. The Lillian kit also includes 57 glitter diecuts, 4 glitter borders, and 3 alphabet stickers. I found this wonderful site called Crafty Steals and they have some great deals!!! Anyway, this collection that I found awhile ago is full of great things, and I am sure you will love digging into it, even if you do not have a little girl... which I don't, but I love using it for my cards for friends and such. At any rate, the rules to be in the drawing are to leave a post on my blog. I would love if you would follow my blog, but I understand the need to keep your blog list to a minimum. At any rate, leave a comment and I will use random.org to help decide who the winner is.   Good Luck and have fun. Hope to see your projects over at BugBites

Friday, May 27, 2011

Checking up!

Okay, so I am finally back from PA, and my house is still standing. Living in OK can be a little frightening sometimes, but thankfully so far we have been spared from any really bad weather. Unfortunately that does not stand true for everyone in OK, so please keep them in your thoughts and prayers as several families are suffering from the lack of housing due to the tornadoes that went through this past week!

Anyway, please check back tomorrow as I will be part of the Grillin n Chillin bug hop hosted by none other than Barb over at BugBites!

I am so excited, but because of my vacation I am short on time, and I can't really talk right now. So I will have a new post up tomorrow bright and early, and I will have some blog candy to give away. Looking forward to seeing you all there!!!

Friday, May 20, 2011

I'm Alive

So as I mentioned in my last post I have come to PA to celebrate my niece's graduation, so this means that I have to go through paper crafting withdraw!!!! Of course, I have been working on a  layout in my head... this is when a Gypsy would so come in handy... but oh well... something to put on my Christmas list right!!!

I wanted to let you know that I will be participating in a very special blog hop the end of next week.Come back during May 28 -30 for the Grillin' and Chillin' Blog Hop.


Also, during this time I will be giving out my very first Blog candy, so stop by and I will have directions for that, and some great fun to be had. Hope to see you at the hop!!!

Friday, May 13, 2011

I'm Back!!!

Okay, so was anyone else spazing out over the fact that they could not check up on their favorite blogs for like 36 straight hours!?!?!?! I was so lost without all these wonderful ideas coming my way!! Thankfully I had homework to keep me busy!

So, I haven't posted in a few days, and not all of it was because the blogger was down. I've been preparing for a trip back to my hometown in PA. My niece is graduating from high school, and I really want to go home and celebrate with everyone, so I've been getting ready for that. Also, I've been behind on my school work. I'm in college for my bachelors degree, and while I thought the work for an associates was tough I was sadly mistaken, but it is so worth it. I love learning new things, and I love my field of study which makes it that much better.

Anyway, onto the project I want to post for today. I found this awesome site through another blog I've started following... 
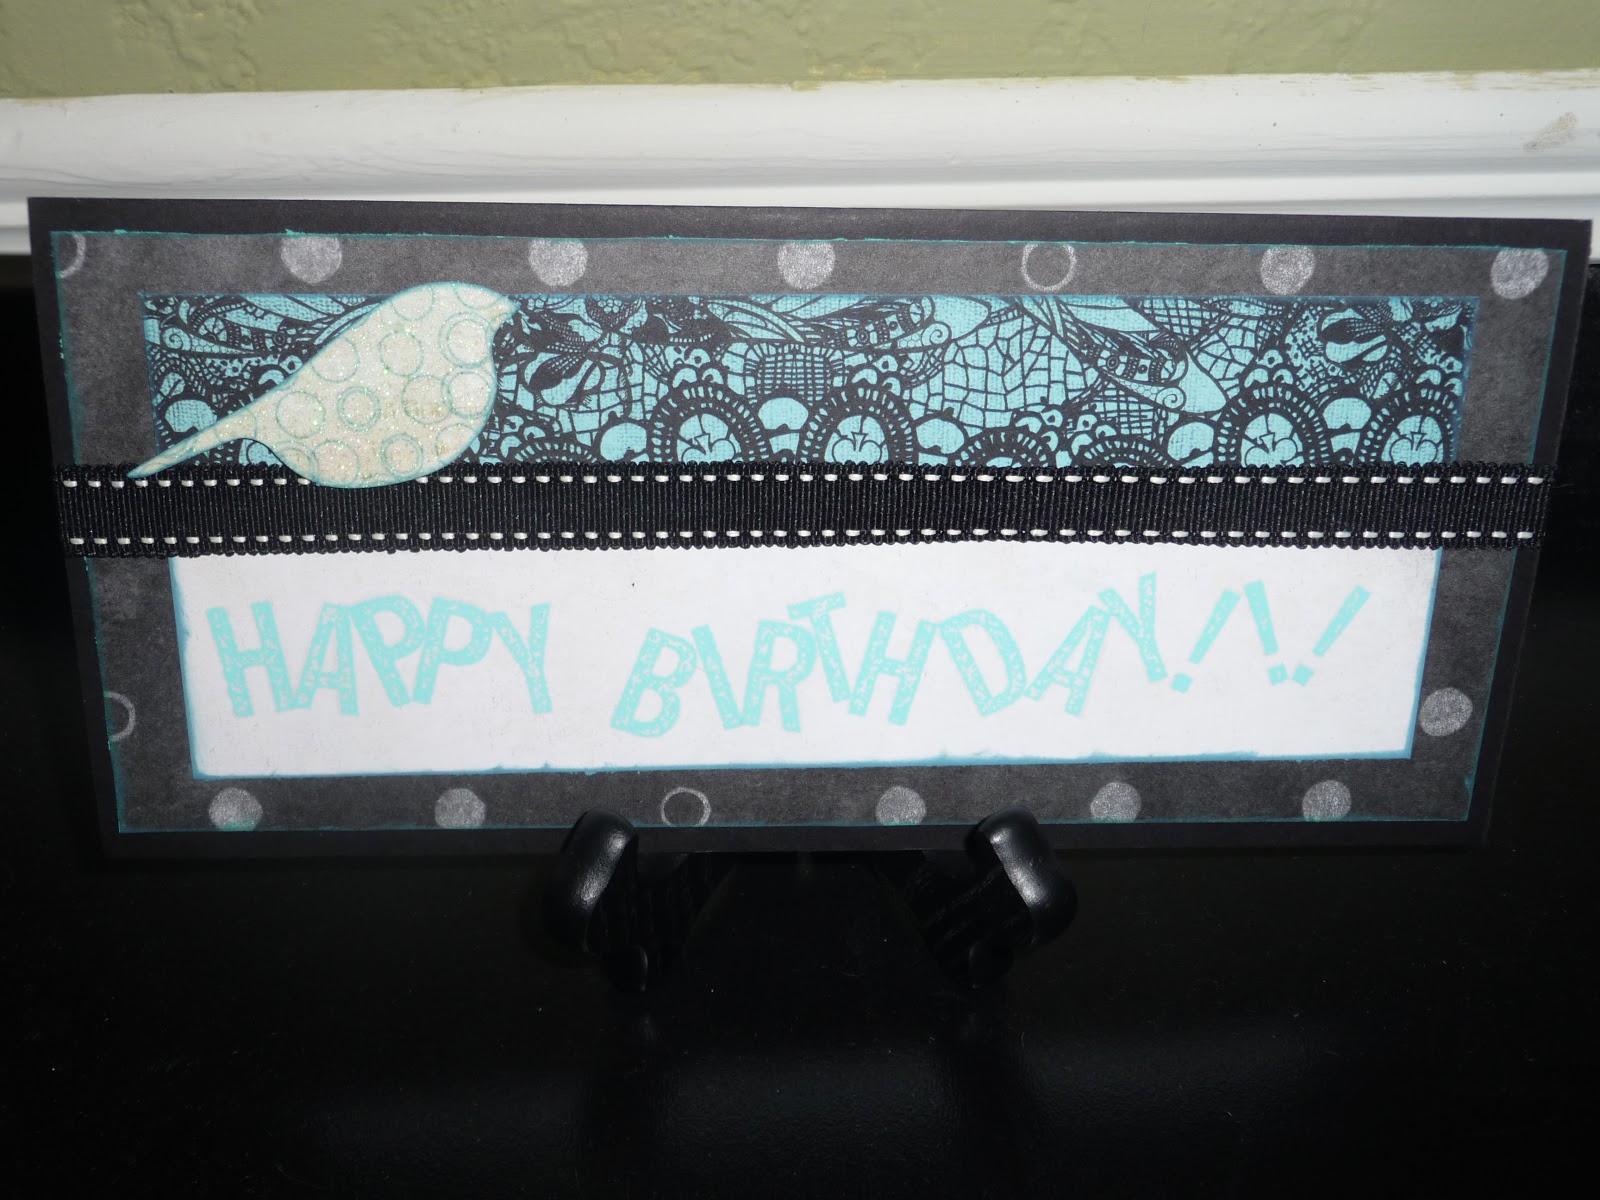
CAS-ual Fridays, and their idea is basically, clean and simple, which is something I was looking for when it came to a card for my SIL. (Look at that I'm picking up on the blogger lingo...aren't you all proud of me!!!) Anyway, I wanted something simple and classy, but something that really reflected what I was thinking about her at the time. She's a great gal, and I'm so glad to have her in my life.


So anyway, when I found the CAS-ual Friday's blog, I was super excited, so excited that I forgot to look at the date, and did not realize that the challenge was over. So I went along my merry way and made a card to that challenges specs, only to realize after the blogger came back up that it was over. So, I decided to incorporate both of the challenges into my card instead of giving up totally. We were to use twine and buttons, and while  my card already had some embellishments on it with the flowers, I did already have the twine, so I only needed to place a button somewhere, so I decided that the best spot was the bow. This way, it doesn't detract from the rest of the card, and it kind of looks like it belongs there. I used paper from a pack I was given years ago by my DH (again with the blogger lingo), and I don't even remember the name of the pack. I used a bunch of spare flowers and brads that I had laying around, and of course my twine and spare button. I'm low on the buttons, only have a few colors to choose from, as I'm just starting to use these details on my cards. I had a stamp that I bought at my local scrapbook stores deal table, and I finally got to use Tim Holtz Destress Ink, Tea Dye color. Again, I'm just starting out with the stamps, and only have a few to pick from, but hopefully that will change soon. The writing on the front was done by myself, I actually used a pencil and wrote it first and then went over it with an ink pen... I wanted to give it that old fashioned feel and that is why the script looks that way. I hope it shows up right.

Anyway, I was pleased with how it turned out, and I think it will be a nice card for my SIL.


On other news, you may have noticed some changes on my blog. I've been playing around a little bit, and I was looking for something that would go with my Purple Giraffe theme... another day I will go into the whole Purple Giraffe name... so I found this great site on another blog, and found this wonderful purple background look. Can you believe my favorite color is not purple!?!?!?! Anyway, I also titled my followers and Zoo members, and I hope you don't take offense. See my life is a Zoo most of the time, with my schedule being crazy, and my husband coming and going with his job, and if you were ever to watch me when I'm paper crafting you would think it was a Zoo with all the paper flying every which way and all. At any rate, I thought it went great with my Purple Giraffe name, and so again, no offense meant, its just a sign of my personality, a bit crazy, haphazard, and sometimes even lost amongst the papers and brads!!!!

Enjoy the rest of your day, and leave comments if you would like.